Snippet: OpenTherm Gateway for Home Assistant
Adding the OpenTherm Gateway to Home Assistant
These are the steps I took to add my own opentherm gateway to home assistant. May this example help you add yours.
Assumptions: You have a working home assistant installation, you have a working MQTT broker on the same machine or enabled the embedded MQTT broker (which is what i’m using) and you have connected the OTGW via serial or FTDI usb.
Firstly follow the installation instructions available on py-otgw-mqtt’s github page.
On step 4 of those instructions you make your configuration settings. These are mine.
{
  "otgw" : {
    "type": "serial",
    "device": "/dev/ttyS0",
    "baudrate": 9600
  },
  "mqtt" : {
    "client_id": "otgw",
    "host": "127.0.0.1",
    "port": 1883,
    "keepalive": 60,
    "bind_address": "",
    "username": "username",
    "password": "password",
    "qos": 0,
    "pub_topic_namespace": "value/otgw",
    "sub_topic_namespace": "set/otgw",
    "retain": false
  }
}
Then edit your configuration.yaml file, I’m not very familiar with this syntax yet but spacing seems very important.
climate otgw:
 - platform: mqtt
 name: "Thermostaat"
 modes:
 - auto
 current_temperature_topic: "value/otgw/room_temperature"
 temperature_command_topic: "set/otgw/room_setpoint/temporary"
 temperature_state_topic: "value/otgw/room_setpoint"
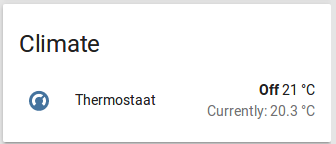
And that’s it. If all went well you should see a new section on reloading your configuration.
Edit 2019-03-22: Shortly after writing this snippet a proper HA OpenTherm component was added, I would advice the use of that over this snippet.
Just to address one thing I left out originally, you can change the step amount by adding the following entry to you customization. (it might also work in the main config but i’m not sure about that)
climate.thermostaat:
  target_temp_step: 0.5