My 3D Printer setup
TL;DR
Since last time I updated this blog (ie: a long time ago) I’ve bought and returned a Monoprice Maker Select Mini 3D printer, got a Wanhao Duplicator i3 Plus, build an enclosure with IKEA furniture and started printing all sorts of stuff!
Interested?
False start
I’m not going to dwell on it too long, because the printer is already gone, but the Monoprice Maker Select Mini came recommended for starters. I was impressed by the print quality as it was better than I had expected, but when printing large objects things went badly. Turns out the buildplate was warped, but because the printer was not available here I bought this printer on amazon.com I had to ship it back to the USA, ouch! Later I learned that one week after I bought mine on amazon a local retailer started selling the bloody things!
Anyway, amazon gracefully refunded the cost of shipping as well as the rest of the order so other then i few lost hours nothing really lost with this false start.
Upgrade, or second start?
I’m not sure if I can call what I did next an upgrade or a second start. With the refunded money and some extra splurging I decided that the local retailer I found was going not going to deliver a Maker Select Mini. Because even tho my time with 3D printing had been short, I had found enough stuff I wanted to make that would not fit the Select Minis build volume. Therefor, after reading some reviews, the printer I chose to get was the Wanhao Duplicator i3 Plus, a Prusa i3 style printer. With it’s increased build volume, 200x200x180mm instead of 120x120x120mm the Select Mini had, and the loads of resources online for this printer including all sorts of modifications to make it even better, it seemed like a purchase as my next first 3D printer.
Unboxing and enclosing
When the i3 Plus was delivered, the box I got was a bit bigger then the box the Select Mini came in, logical, it’s a bigger printer. I had hoped it would fit on the shelf the Select Mini had stood on but alas. Damn, where am I going to leave this printer. Oh well, the dinner table will be just fine… for now.
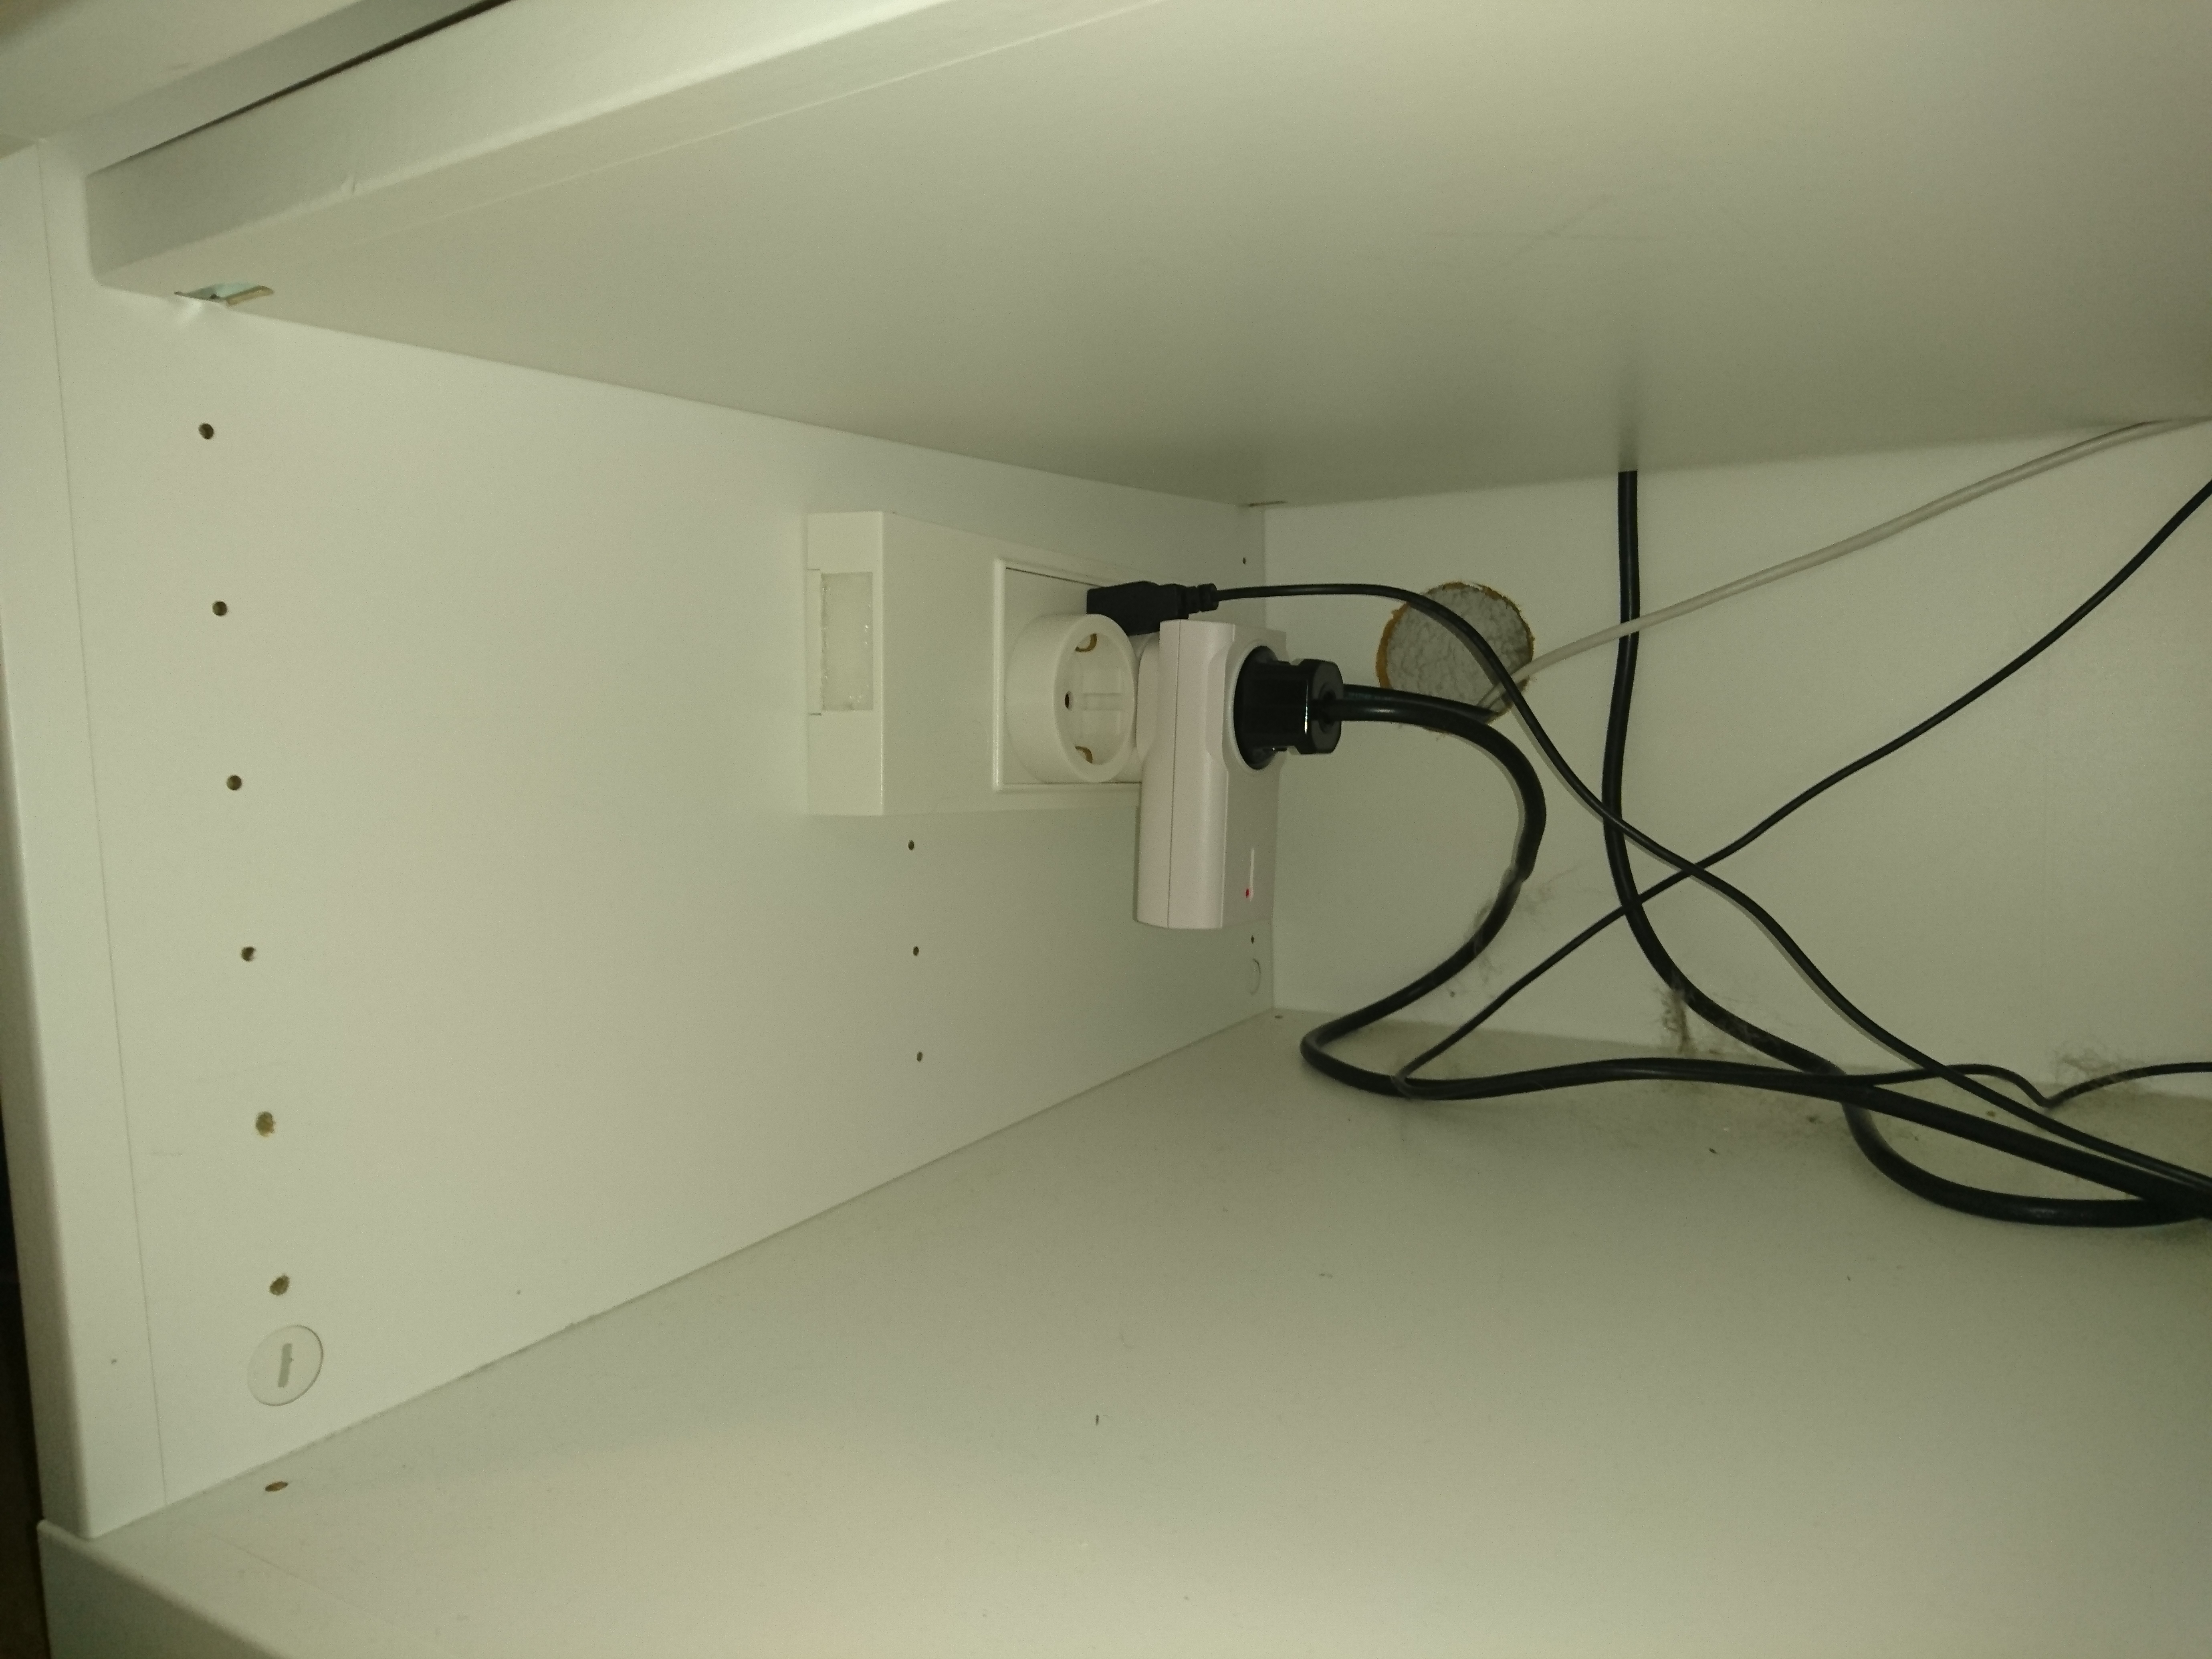
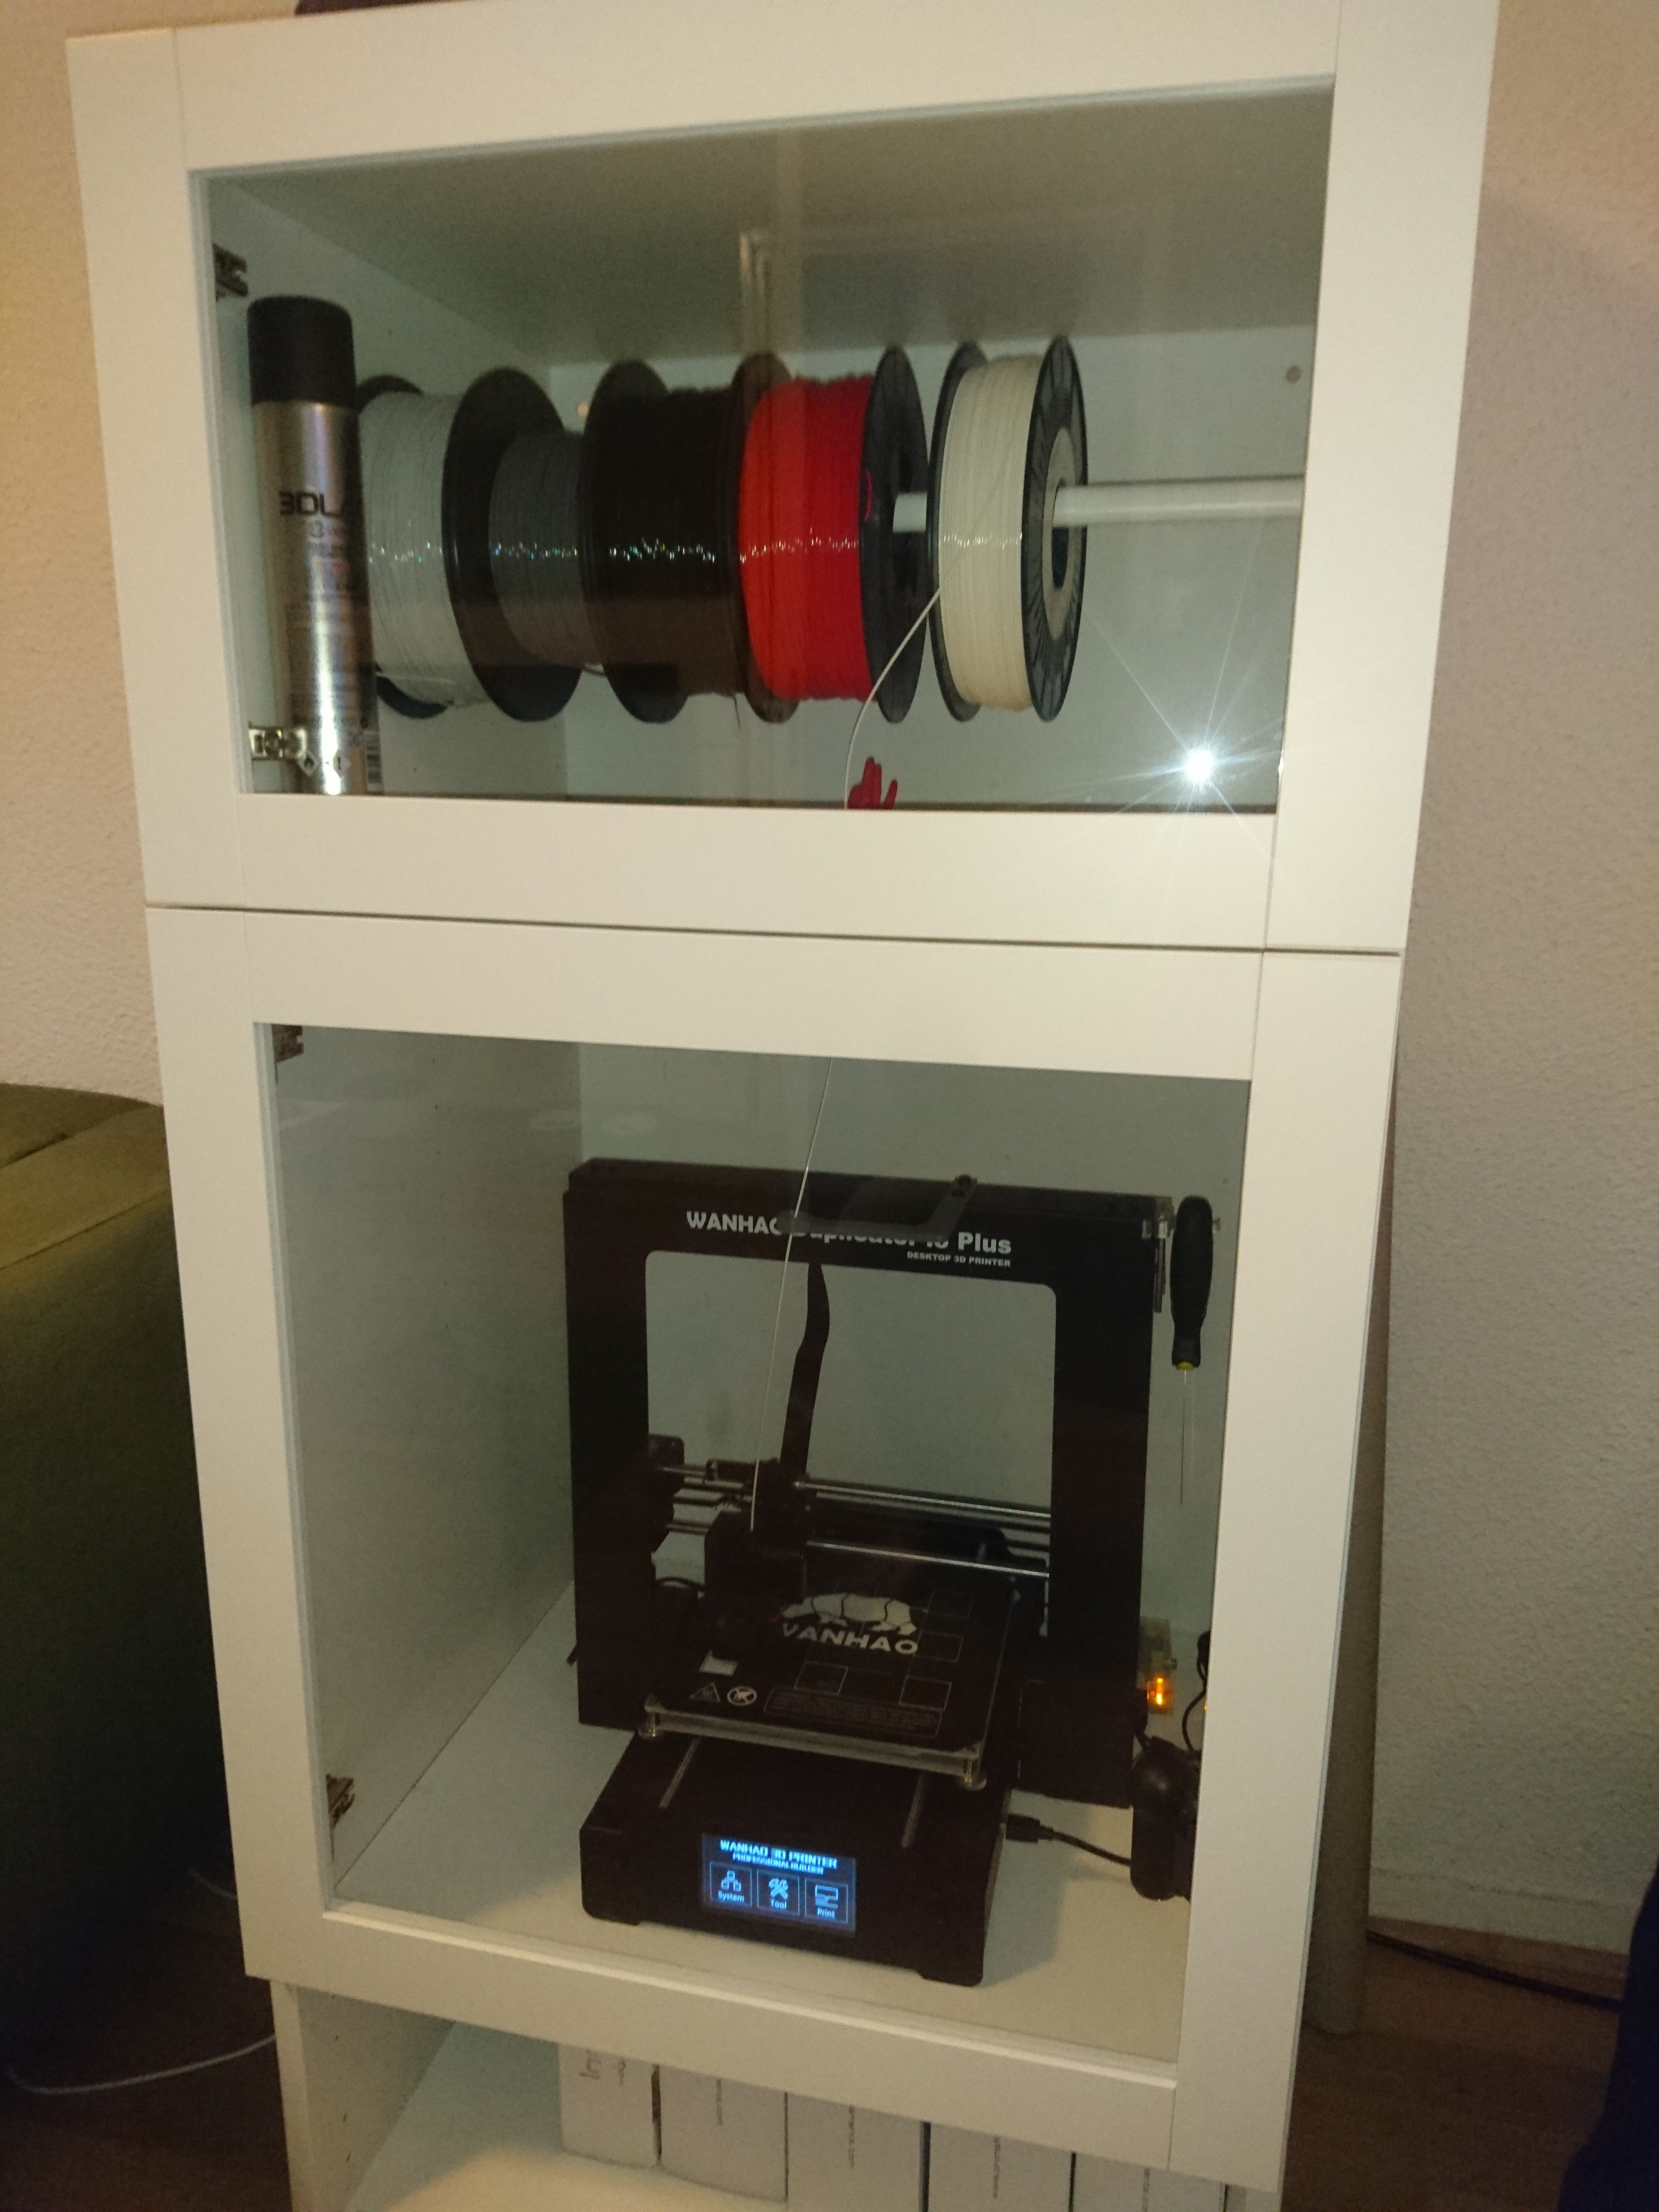
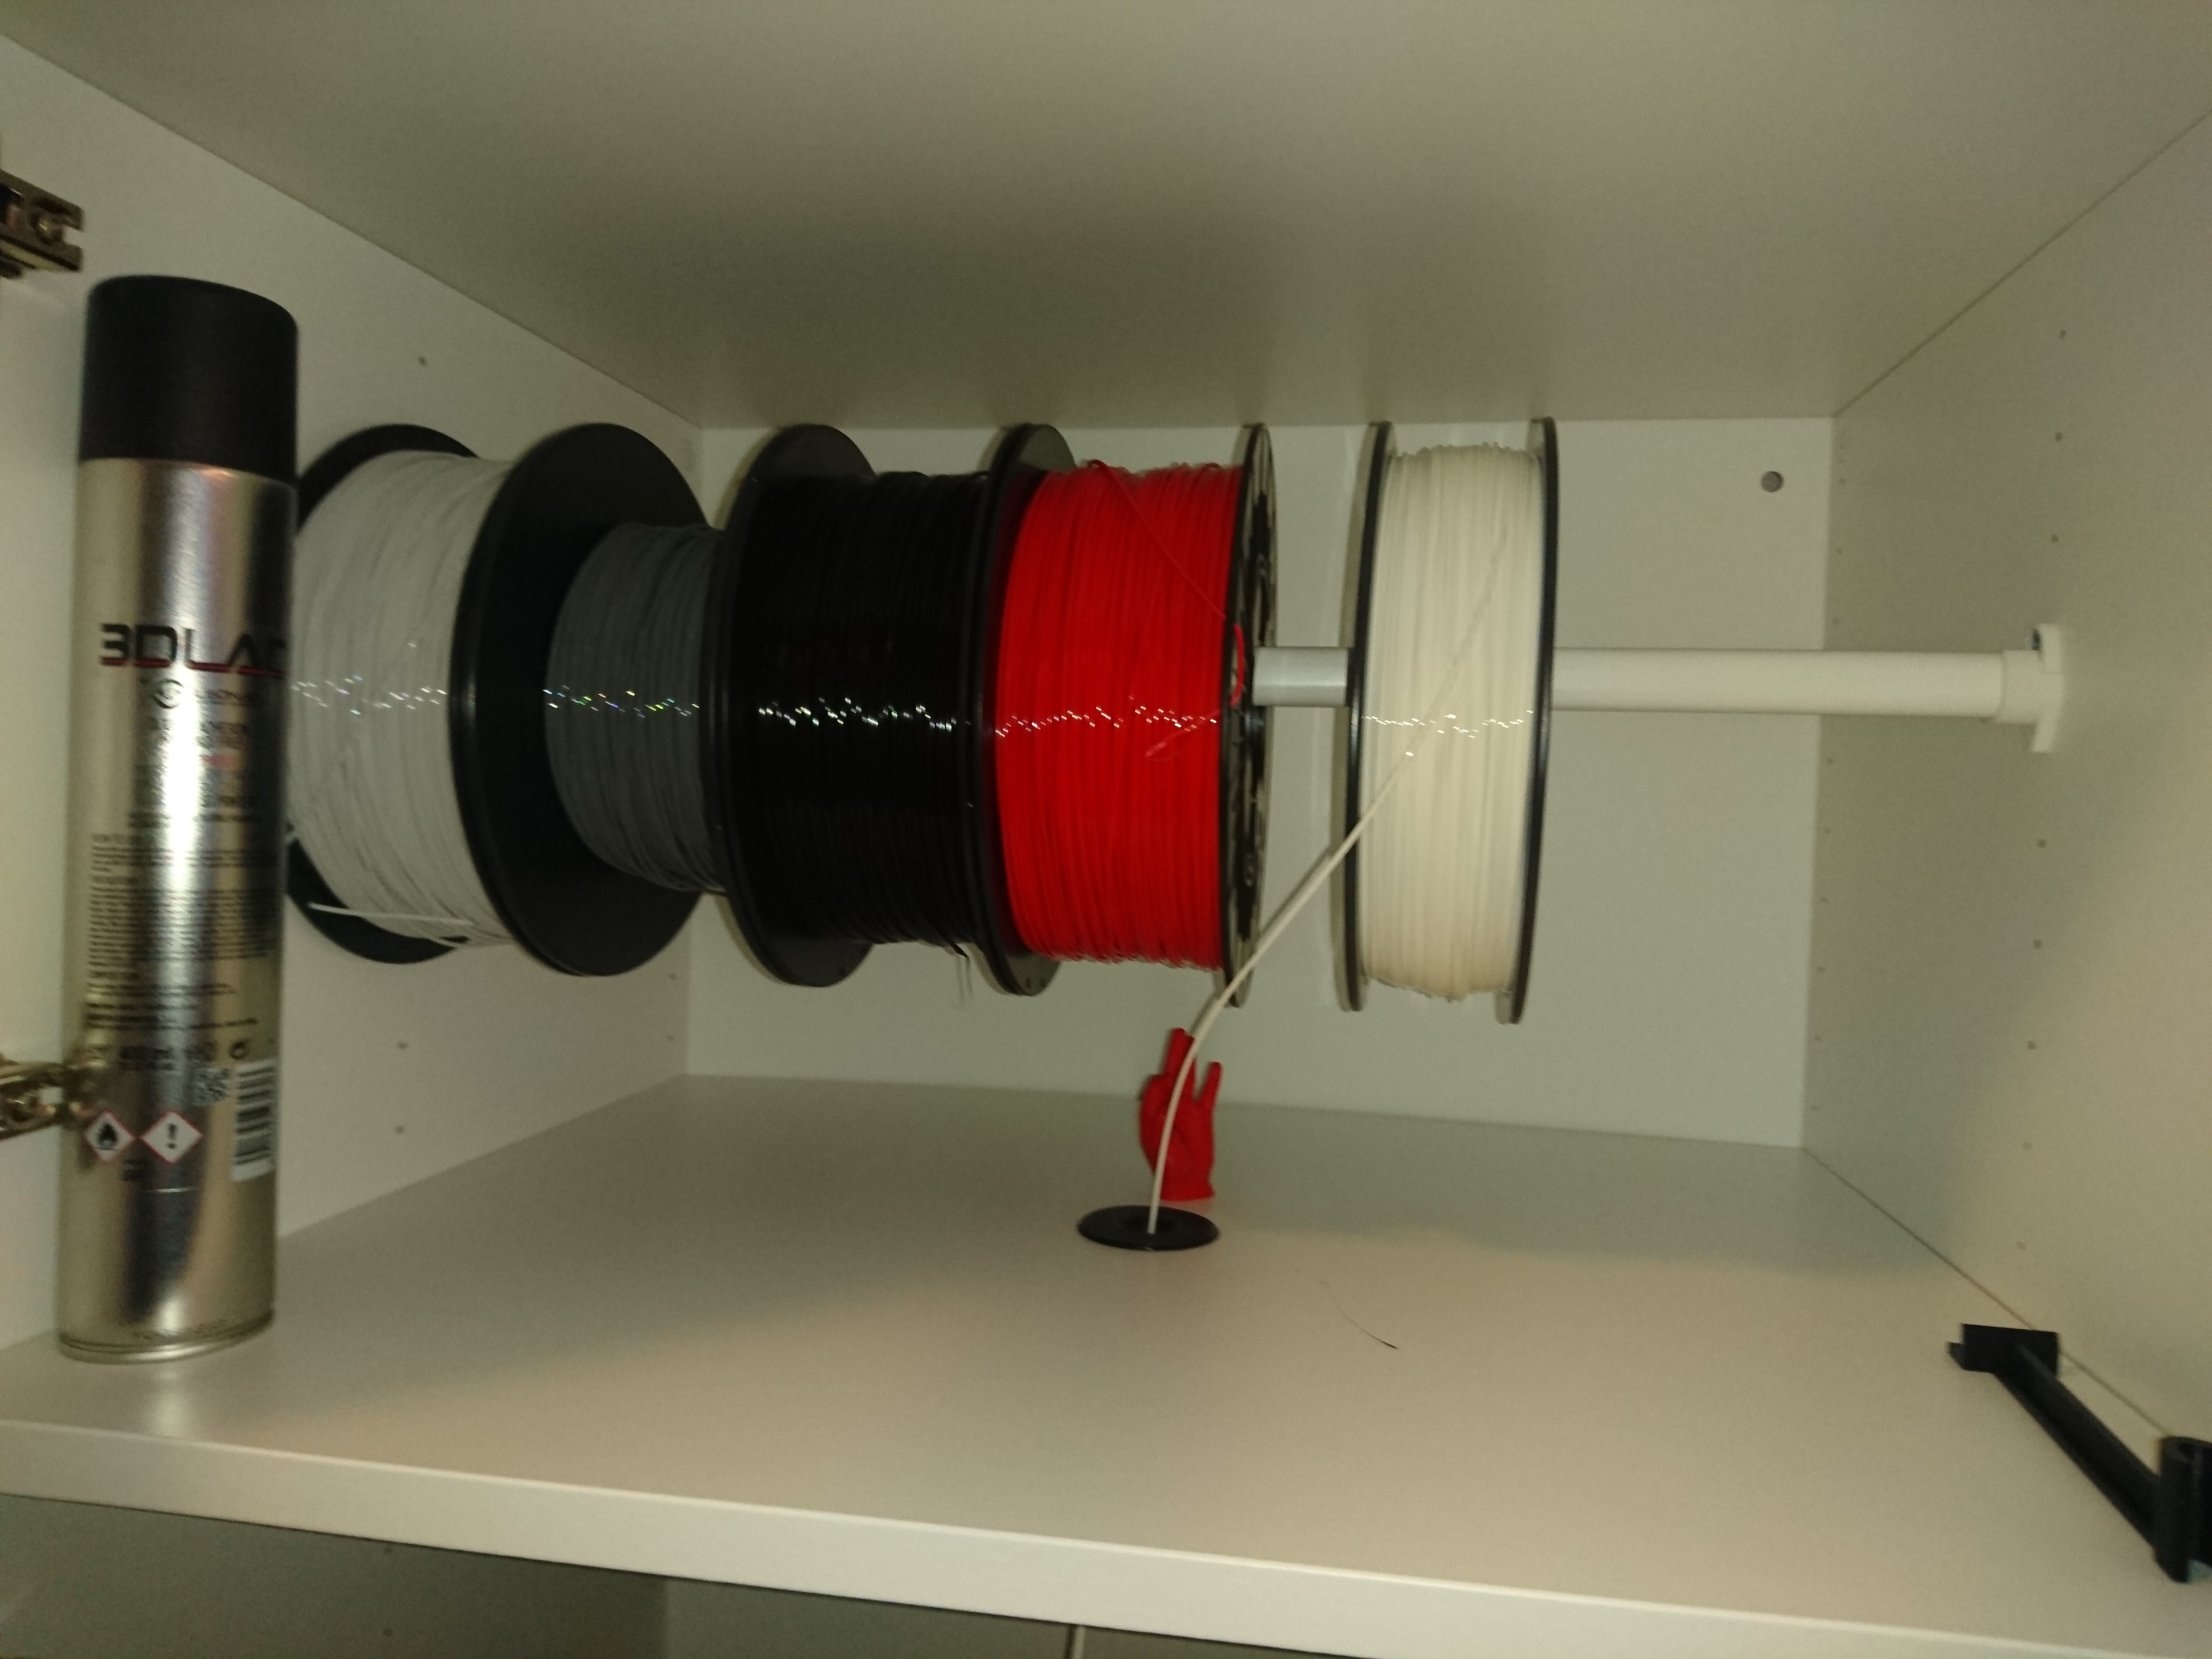
I had spied an IKEA LACK based enclosure earlier, but the aesthetic of this option wasn’t really to my liking, then I found this IKEA STUVA based enclosure which I liked a lot more, however, I wasn’t about to put that enclosure on my desk, it wouldn’t fit. Then I thought, GO BIG OR GO HOME, went to IKEA and got a larger STUVA storage shelf, a clothes rod and two of those SINDVIK glass doors and the hinges to match. Build a enclosure out of that and thought: Shit, I don’t like this, the enclosure is evenly split and I want a more proportional approach. So I went back to IKEA, got two extra shelfs, another SINDVIK glass door at half height and a solid half height door (or so i thought) to split the storage space in three.
I fitted the first ‘half height’ glass door, shelf and fitted the clothes rod. Yes, looking good. Proceeded to fit the full height glass door, shelf and put the printer on that. YES, looking just like I wanted! One door left! SHIT! it’s too high.
Turns out I miscalculated the height of the shelf/doors so the last door would not fit. I still want to close this part off somehow but for now it’s going to be fine.
So…Yeah… 3D Printing!
I’m sure this will be just the start of my 3D printing adventures, I’m not entirely happy with how it turned out with the missing bottom door but for now it will definitely do. Hopefully I will fix that later but I think 3D printing experience is more important right now. I’m sure that the more I print, the more other changes I will think of.
[
[
[